Backpacker's Guide To DIY Dehydrated Meals
The Good, The Bad, and The Tasty

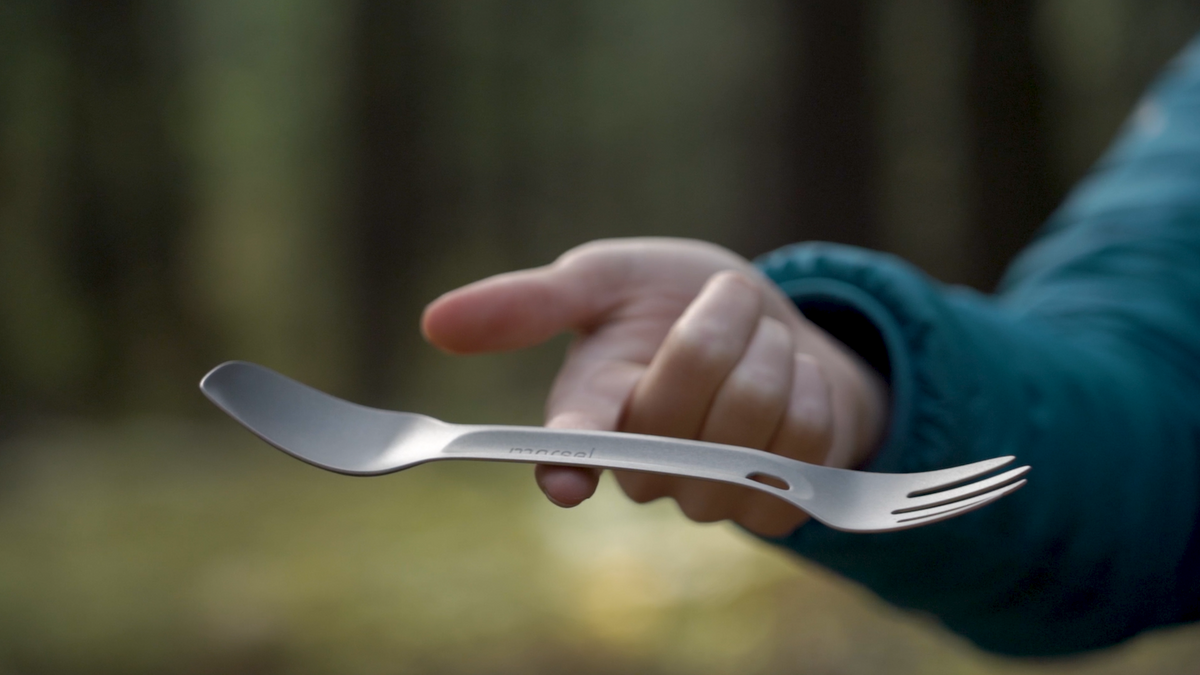
When it comes to DIY backpacking food, the culinary options are as plentiful as the personalities surrounding them. Sure, you could carry a cast iron skillet and canned food (or beer) like our buddy Joe, but ultralight backpacking is all the rage these days and all the cool kids are tearing off their clothing labels and sawing their toothbrushes in half to save every last gram. (Hey - we're not judging - our standard Morsel weights in at only 0.8 ounces to fit right into the ultralight backpack)
To be fair to Joe, he found the skillet on the trail and decided to pack it out because, “Dude, free skillet!”
It should come as no surprise that dehydrated meals are still a hugely popular choice among backpackers looking to keep their pack weights to a minimum. We’re in the golden age of dehydrated meals, and new food companies are popping up all the time to fill new niches like keto and organic meals. They taste a heck of a lot better than the MRE’s your grandpappy used to eat, but they sure aren’t cheap! Some of these meals are over $10, and let’s be real: those supposedly “two-serving” meals are only enough for one hungry hungry hiker.
If you’re a cheapskate like us, you may have pondered crafting your own DIY dehydrated meals. After all, food dehydrators aren’t too expensive (and your granola-crunching friends probably have one you can borrow).
We’re here to tell you that we’ve pondered the same thing, and we decided to take action and give it a try. So if you’re ready to dive into the world of DIY dehydrated meals, read on!
The basics of DIY dehydrated meals:
First off, let’s start with a few basics of dehydrated foods. Commercial dehydrated meals come in special food-grade ziplock bags that are boil safe. That means you can pour boiling water into them without worrying about the plastic melting or leeching toxic materials into your food. These are commonly called “boil bags” and can be purchased from a variety of online retailers. Pick up a few of these (we suggest one per meal) - they’re generally reusable too!
3 methods for making dehydrated meals:
Next up, let’s talk about how the meals are actually made. Most dehydrated food is made using one of three methods:
- Dehydrate the ingredients separately, and combine them into your boil bag. This is sometimes quicker and easier, but the flavors are mixing together for the very first time when you add your boiling water, so you miss out on some of the flavor synergy that comes from cooking ingredients together.
- Cook the entire meal at home, and then dehydrate the finished meal. This allows all the flavors to mix together as you’re cooking, so your finished product will taste more like the real thing. But it may be messier to dehydrate because you’ll be dealing with the whole meal, sauces and all.
- Buy pre-dehydrated ingredients and combine these into your boil bag. Note that dehydrated and freeze dried foods are NOT the same thing - freeze dried foods are more prone to crumbling and have a less appealing taste and texture.
Our best tips on making tasty DIY dehydrated meals:
We decided to go with the first method, for the sake of simplicity, and used a generic consumer-grade dehydrator. Here are a few tips we learned along the way…
- Avoid fatty foods! If you’re using ground beef, make sure to get it as lean as possible, and rinse some of the grease off before dehydrating.
- Chop it up. Cut up ingredients like veggies and meat into the smallest possible pieces
- Cook everything first. Cook all your ingredients before you dehydrate - even foods like pasta and rice!
- Know thy dehydrator. Make sure you check your dehydrator’s manual and use the recommended times and temperatures. Not all foods dehydrate the same.
- Use parchment. Place the messier ingredients on a piece of parchment paper in your dehydrator to cut down on the mess. Note that this may affect dehydrating times.
- Don’t forget to add spices! After all, he (or she) who controls the spice controls the universe. Plus, your meal will be far more tasty.
- Don't dehydrate different flavors together. Flavor is in the air! Don’t dehydrate fruit slice snacks at the same time as your spaghetti and meat sauce, unless you want your apples to taste like Italian seasoning.
- Keep your meal warm. After you add boiling water, stir it up using a Morsel Spork and place your meal in a food koozie or shove it inside your jacket (even while you’re wearing it). This will keep your meal hot and allow it to rehydrate properly. We built our own food bag koozie from a scrap of Reflectix insulation and foil tape. It weighs about an ounce and doubles as a seat pad!
- Add lightweight fresh veggies! If you want more veggies, consider bringing a bag of fresh spinach leaves, and add them to your meal before (or after) you add boiling water. They weigh barely anything and cook down easily from the heat.
Lessons from our trial..
So how did our DIY dehydrated food experiment work? The meal was pretty tasty, all things considered. But we did experience a few unexpected issues....
- Our meal didn’t rehydrate as well as the store bought dehydrated meals, so the texture was on the al-dente side.
- While the store bought dehydrated meals have convenient instructions telling you the precise amount of water to add, we had to guess on the water amount and our meal was a bit on the watery side.
- It took a considerable amount of time to prep our meals, even for a short 4-day trip.
Want to learn more?
The internet is full of great recipes and DIY dehydrated food advice. One of our favorite resources is Backpacking Chef - check em out!
Leave a comment
Comments will be approved before showing up.
Also in Journal

What Is Kickstarter?

Why We Picked Aluminum Over Titanium


Hadron Gear
Author